
New 2025 Spray Gun • 4 Patented Improvements
Powder Coating Gun Settings Explained: kV, µA, Air Volume & Powder Output
Understand how kV, µA, total air and powder output work together to improve coating quality, reduce powder waste and help operators achieve more consistent results.
Better Finish
Correct settings improve transfer efficiency, consistency and edge coverage.
Less Powder Waste
Balanced air and output reduce overspray and unnecessary material loss.
Faster Setup
Recipe keys help operators repeat settings quickly for common applications.
Understanding the Main Powder Coating Gun Parameters
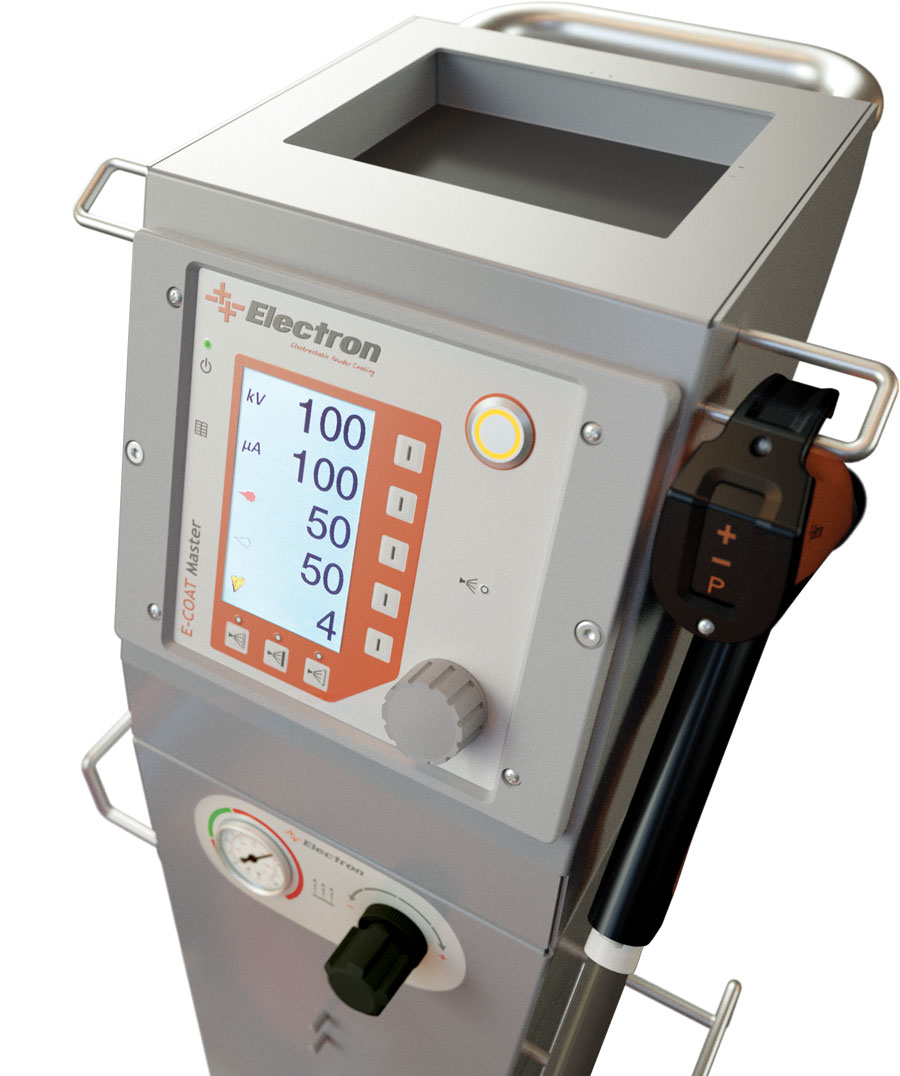
kV = High Voltage
Higher kV increases electrostatic attraction. It is usually more effective on flat parts and open outer surfaces.
µA = Current Limit
µA helps control charging near the workpiece. Lower values often improve penetration into corners and recesses.
E = Total Air
A practical starting point is often E = 4.0 Nm³/h. This affects powder transport and cloud stability.
% = Powder Output
A common baseline is 60% powder output. Fine-tune from there based on part geometry and coating target.
How kV and µA Work Together
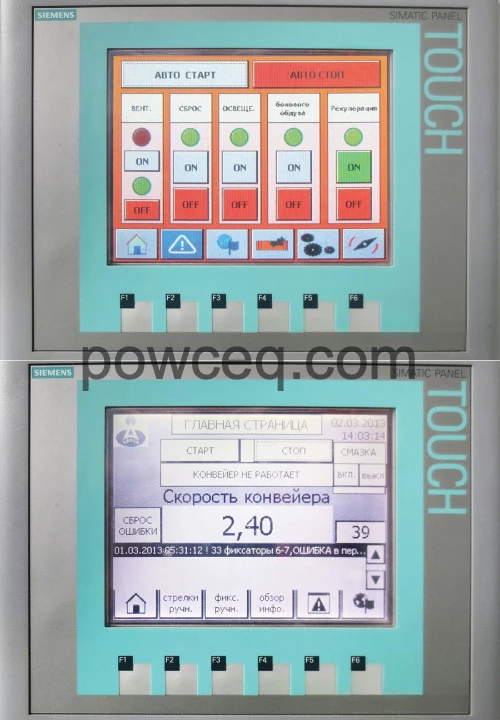
Modern control units can regulate charging based on the distance between the gun and the workpiece. When the gun tip gets too close, the system can reduce µA. That helps control back-ionization and improves coating behavior.
Quick Start Settings
- Total AirE = 4.0
- Powder Output60%
- Recipe Keys3 presets
Adjust from this baseline depending on flat parts, second coat or complex geometries.
3 Common Powder Coating Gun Recipes
Use these practical examples as a starting point for operator training and production setup.
Recipe 1
Flat Parts
For panels, simple shapes and outside box surfaces where stronger attraction is useful.
- Typical setting range: 50 to 80 kV
- Often used with 70 to 100 µA
- Supports uniform coverage
Recipe 2
Second Layer
For overcoating or two-coat processes where re-ionization can become a problem.
- Often starts at 100 kV / 10 µA
- Can be reduced to 80 kV / 10 µA
- Lower kV may improve penetration
Recipe 3
Complex Shapes
For inner surfaces, corners, edges and more detailed geometries.
- Example: 50 kV with 20 to 40 µA
- 50 to 60% air mixture
- Increase spray distance if needed
Typical Values for Angular Workpieces
| Parameter | Example | Meaning |
|---|---|---|
| kV | 90 | 90,000 V |
| µA | 35 | Current limit |
| E | 4.0 | Total air volume |
| % | 60 | Powder output |
| Recipe | No. 3 | Saved quick setting |
Second Coat Not Working?
- Check grounding with an earthing tester.
- Review the powder coating values on the manufacturer’s box.
- Inspect the first coat for stains, peeling or corrosion issues.
- Clean the product surface thoroughly.
If you notice re-ionization, reduce kV and keep µA in the lower range to improve powder penetration into inner corners.
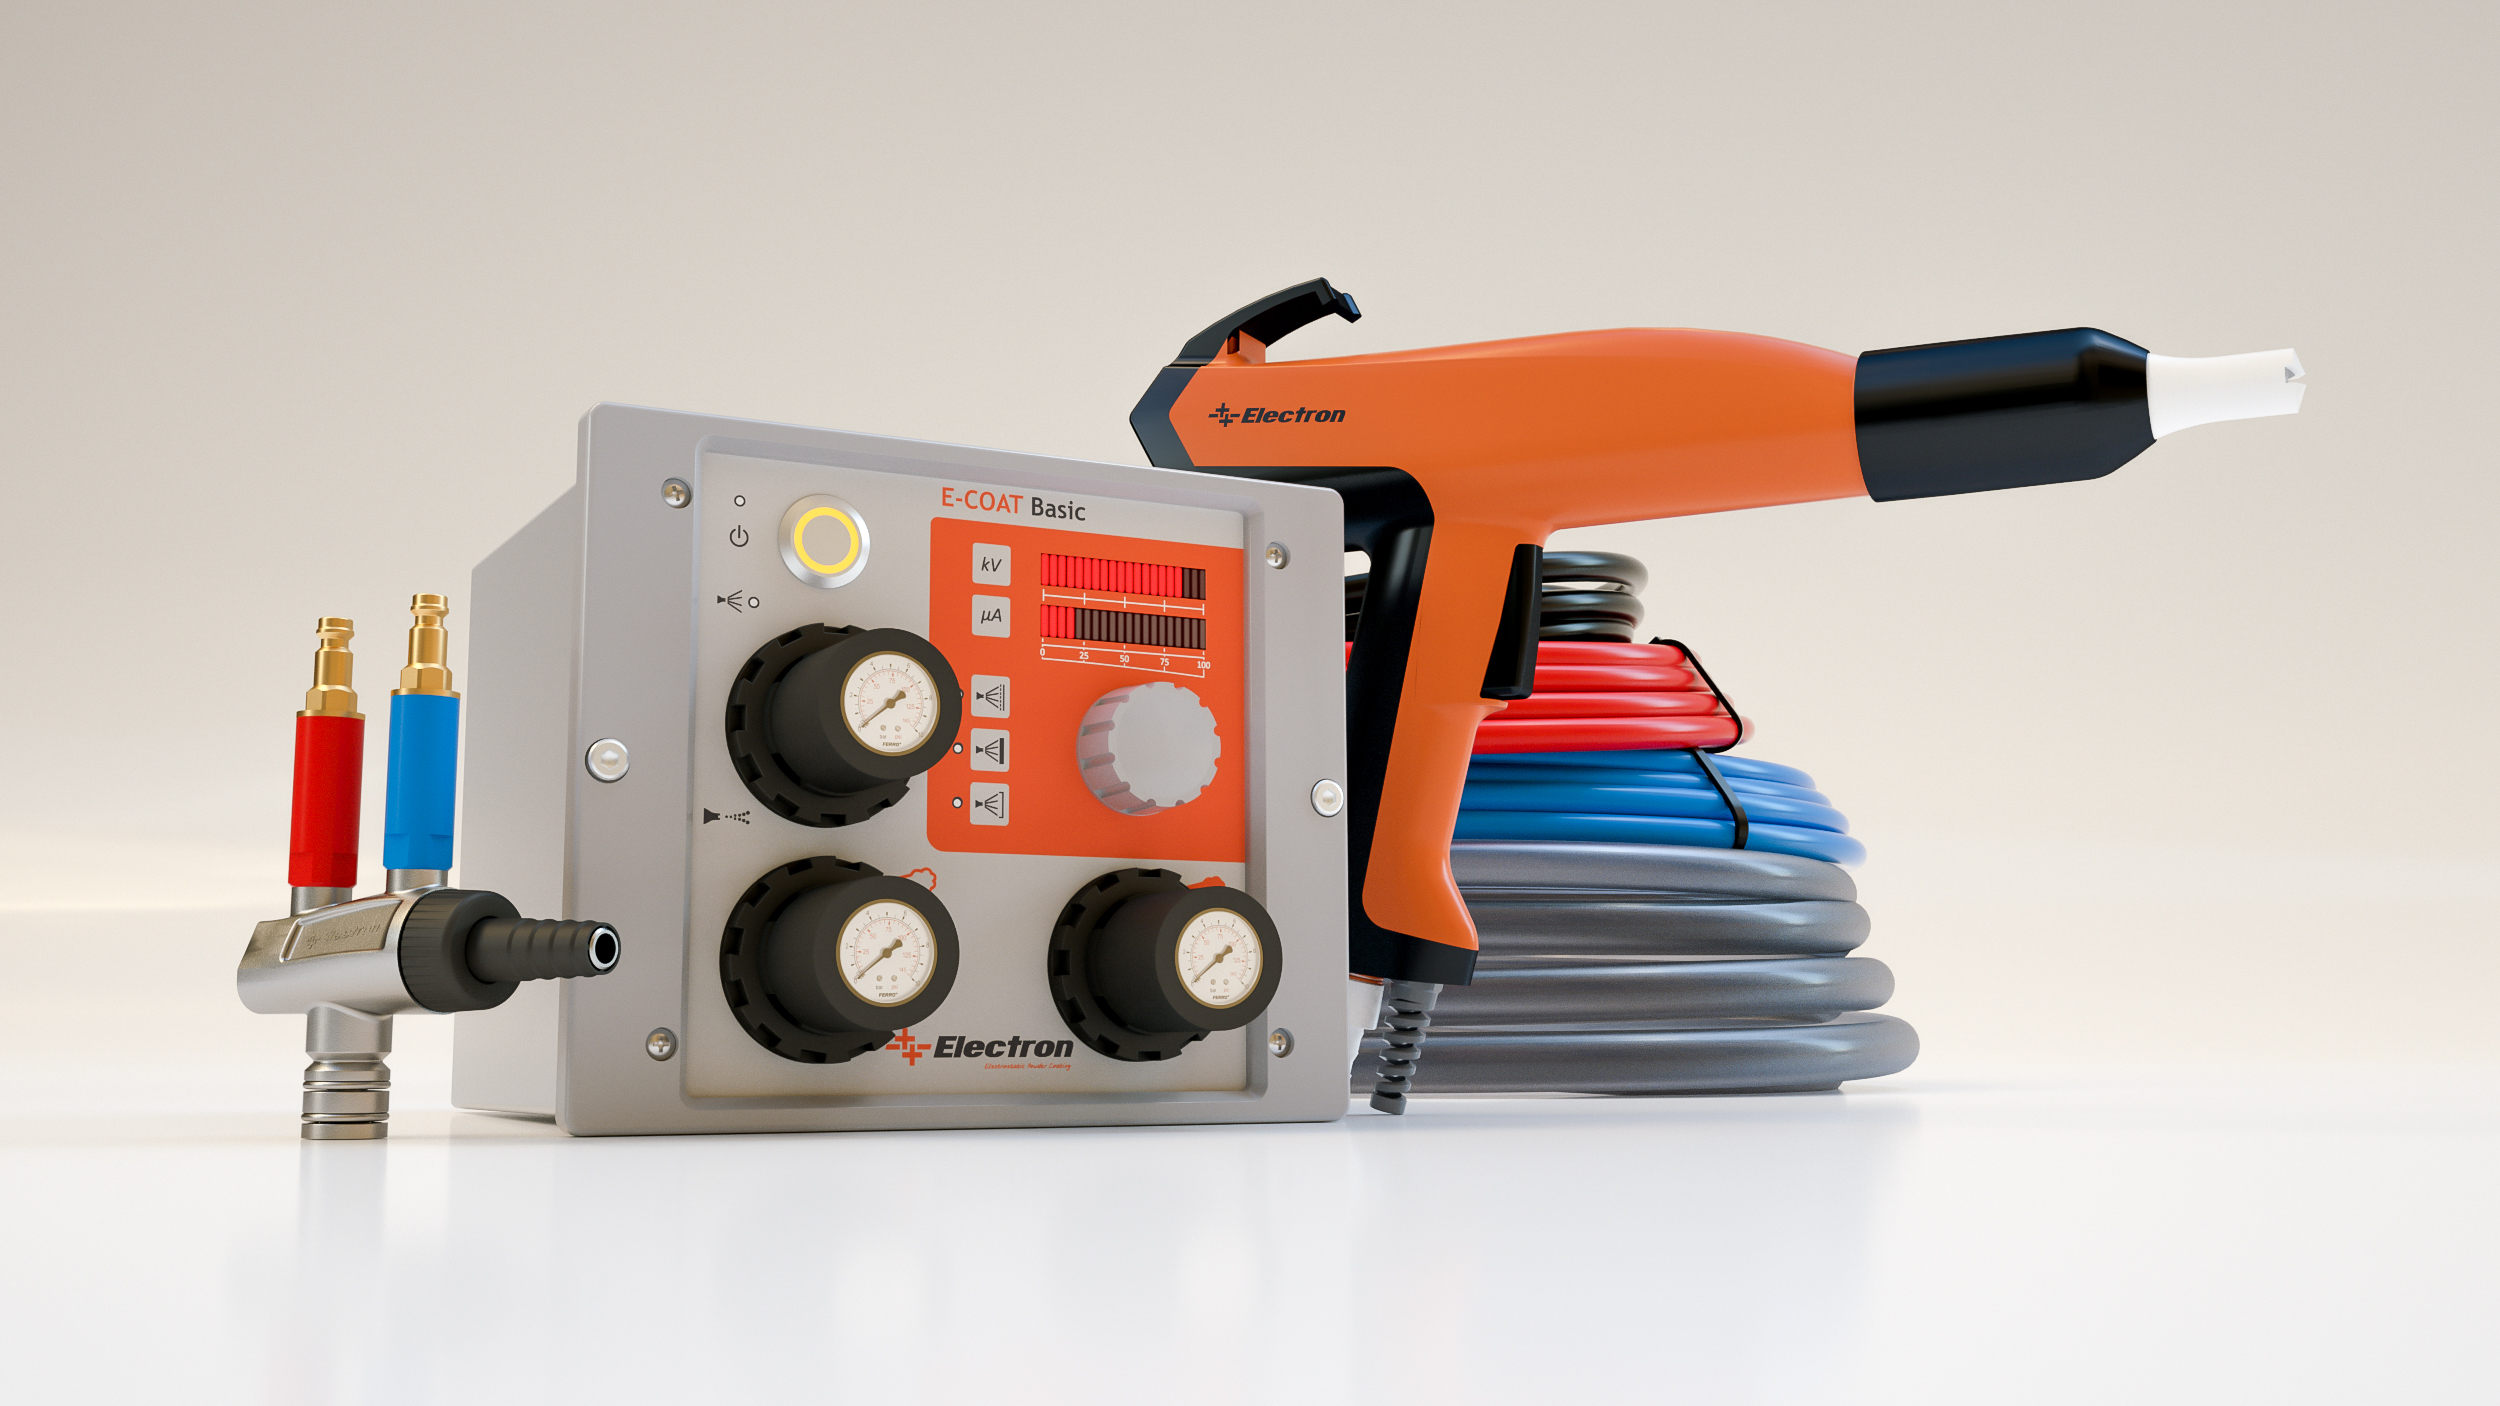
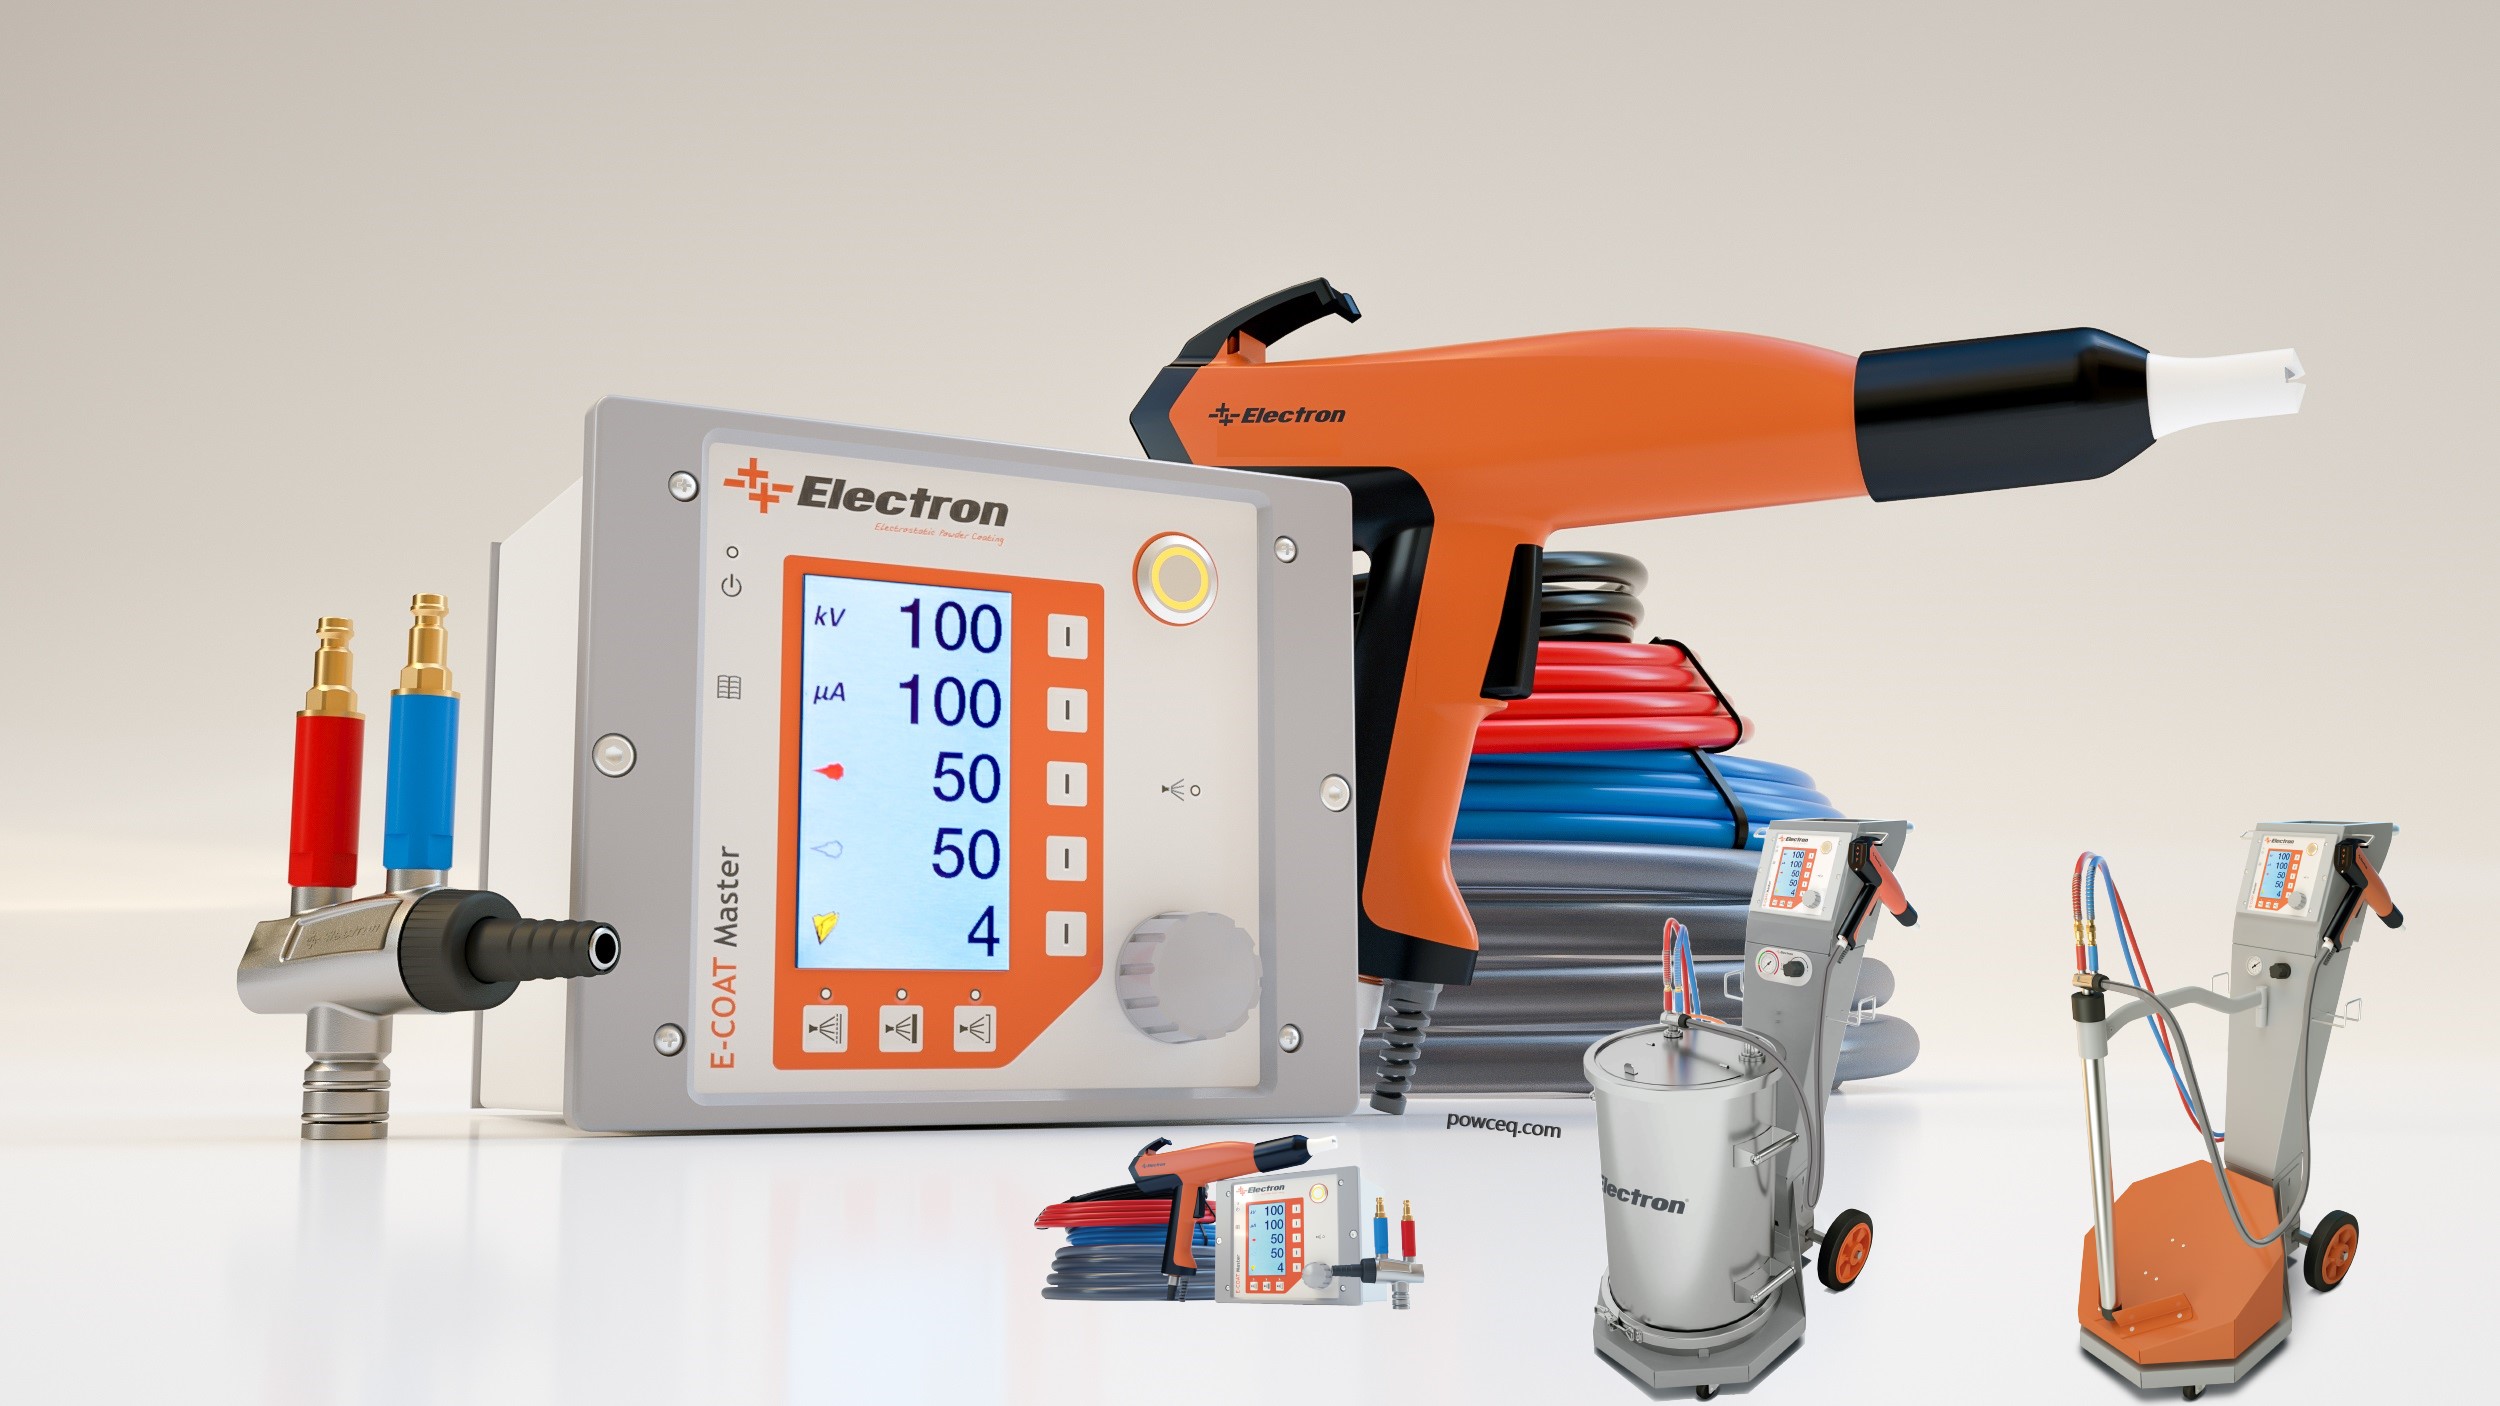
Buy a Better Powder Coating Spray Gun
Upgrade to our special 2026 spray gun for better powder flow, easier adjustment and more reliable coating results.
Offers & Information
Offers, Information Sheets and Documents
Organized resources to help customers compare equipment, download PDFs and request the right quotation faster.
Special Offers
Request access and receive your offer details quickly.

Info Sheets PDF
No password required. Product descriptions and presentations.
Documents
Technical files, user manuals and equipment documents.
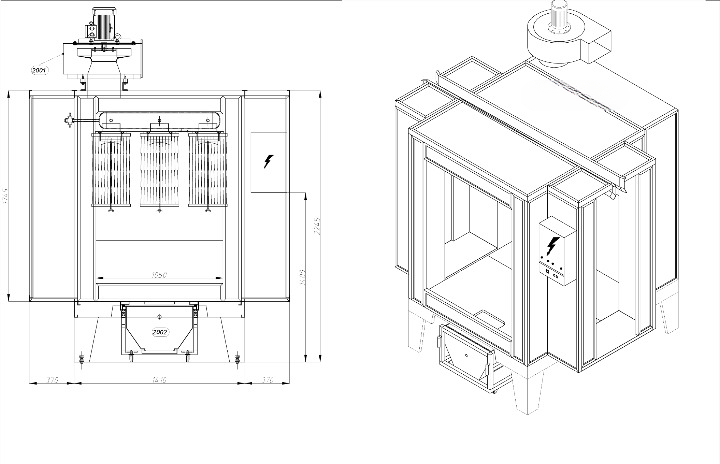
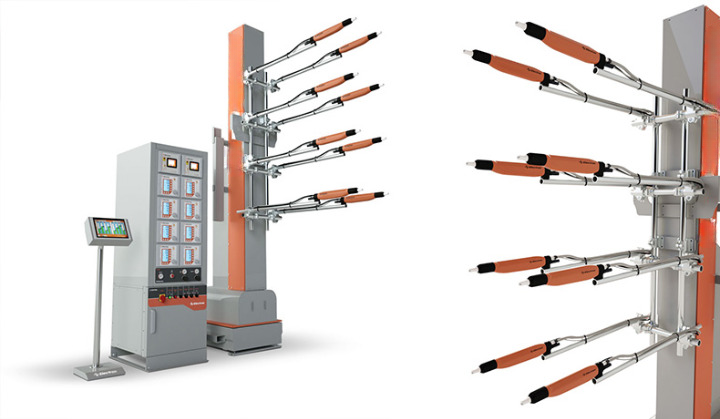
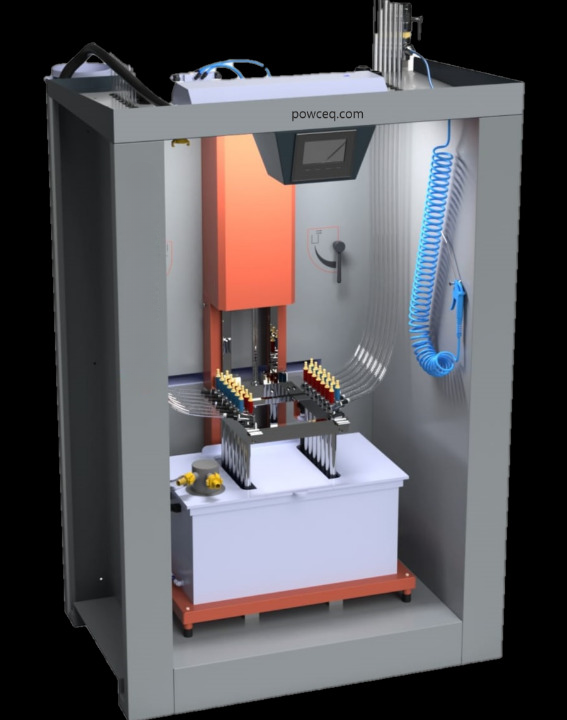
Powder Coating Equipment for Sale
We supply spray guns, booths, ovens, powder feed systems and complete powder coating plants with worldwide delivery.

Coating Guns, Booths and Ovens
Need the right model for your application? Tell us your part size, output target and coating process.
Frequently Asked Questions
Helpful answers for operators, buyers and companies comparing powder coating equipment.